AWS Cognito Login with Embedded Wallets
AWS Cognito is a scalable authentication service provided by Amazon Web Services that enables developers to securely manage user sign-up, sign-in, and access control. Web3Auth supports AWS Cognito as a service provider, allowing seamless integration between AWS Cognito’s authentication capabilities and Web3Auth’s decentralized key management infrastructure.
Take a look at the supported social logins on AWS Cognito
Create an AWS Cognito Application
To begin the integration process, developers must first create a new AWS Cognito application using the AWS Management Console. This initial setup is required before configuring the connection within Web3Auth.
Once the AWS Cognito application is created, developers can proceed to add it as a custom connection in the Embedded Wallets Dashboard.
Learn how to set up AWS Cognito.
Create an AWS Cognito Connection
To use this feature, developers must go to the Custom Connections tab in the Embedded Wallets Dashboard.
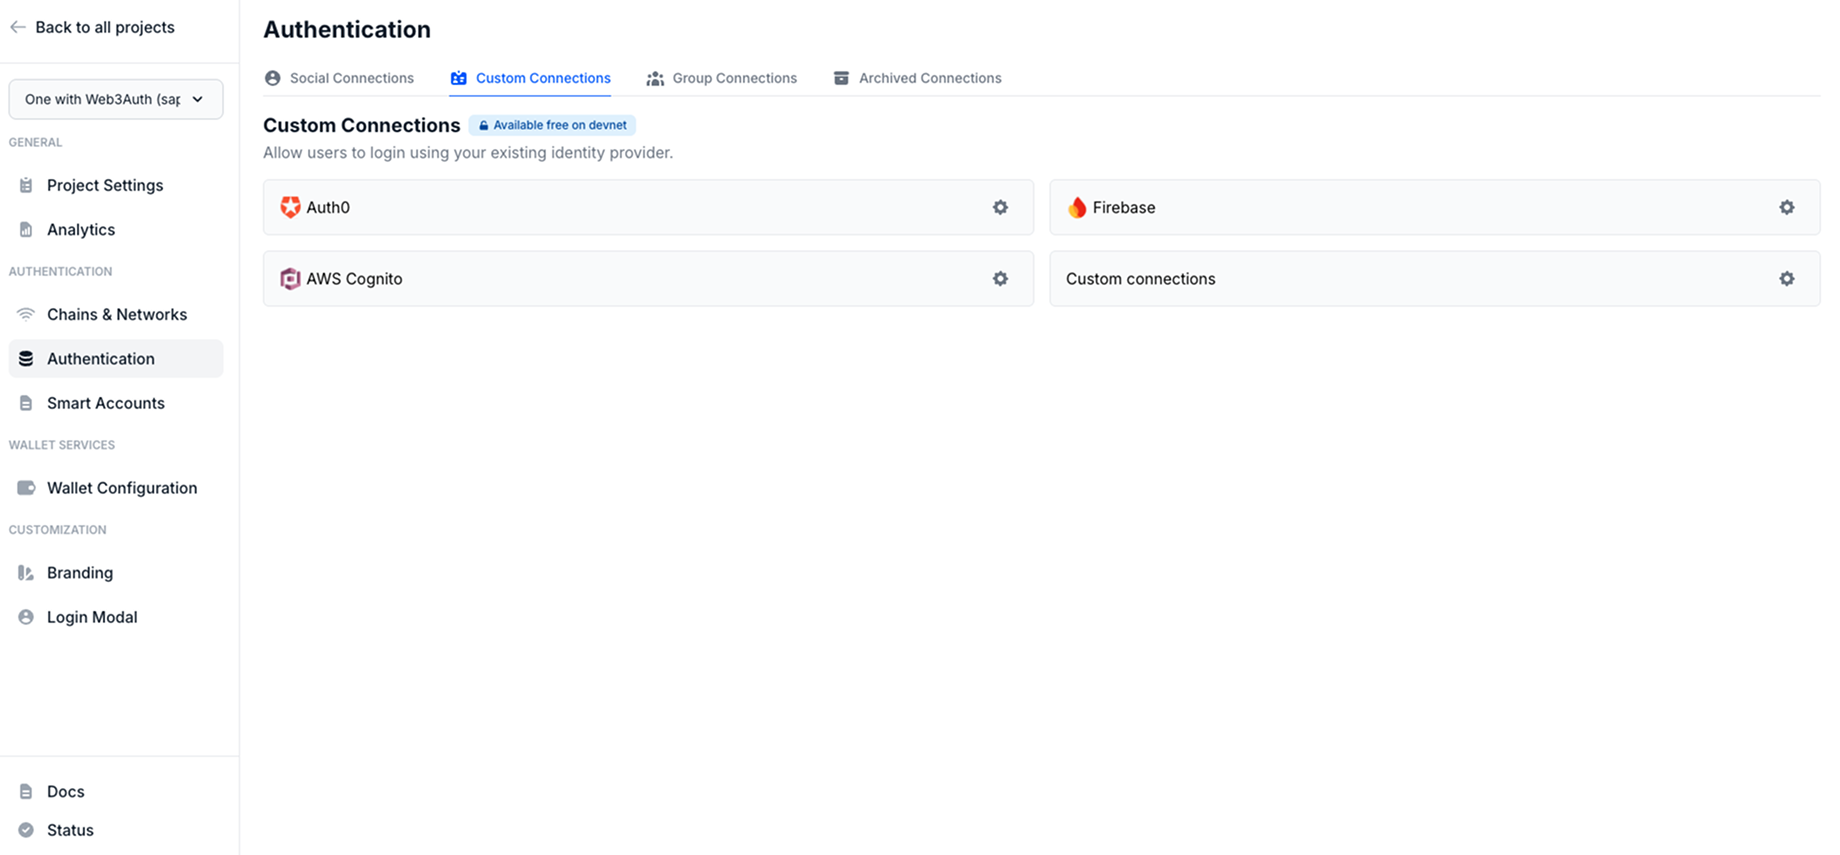
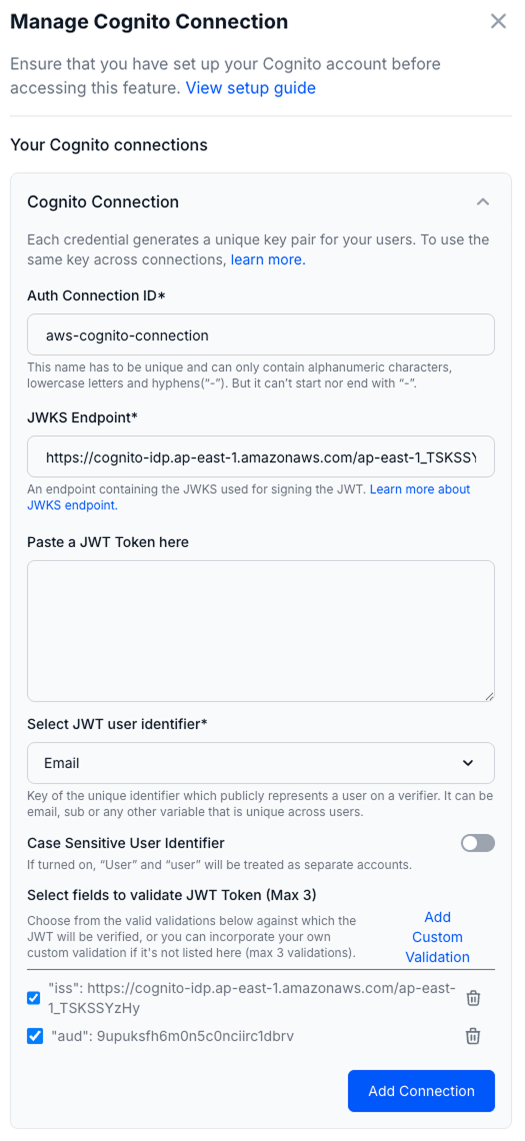
Follow these steps to create a AWS Cognito connection:
- Visit the Embedded Wallets Dashboard.
- Go to the
Custom Connectionssection. - Click on the
Settingsicon near theAWS Cognitoconnection. - Enter the
Cognito Connection ID. - Paste
https://cognito-idp.{REGION}.amazonaws.com/{USER_POOL_ID}/.well-known/jwks.jsonasJWKS Endpoint. - Paste a sample
JWT Tokento auto populate the best JWT validations possible. - Select the
JWT user identifier:email,suborcustom. - Toggle the Case Sensitivity of
User Identifier. (Optional) - Click on
Add Custom Validationsto add validations manually.- Type iss as a field and
https://cognito-idp.{REGION}.amazonaws.com/{USER_POOL_ID}as a value. - Next, type aud as a field and
APP_CLIENT_IDas a value.
- Type iss as a field and
- Finally, click on the
Add Connectionbutton.
Note: Replace the
REGION,USER_POOL_IDandAPP_CLIENT_IDwith your Cognito specific details.
Usage
Since, the AWS Cognito Connection details are available from Dashboard, developers don't need to pass any additional parameters to the Web3AuthProvider.
Follow our Quick Starts to setup the basic flow.
Login with AWS Cognito
await connectTo(WALLET_CONNECTORS.AUTH, {
  authConnection: AUTH_CONNECTION.CUSTOM,
  authConnectionId: "w3a-cognito-demo",
  extraLoginOptions: {
    clientId: import.meta.env.VITE_COGNITO_CLIENT_ID,
    domain: "https://shahbaz-web3auth.auth.ap-south-1.amazoncognito.com",
    verifierIdField: "email",
    response_type: "token",
    scope: "email profile openid",
  },
});